Where the Gnomes Live

February 21, 2012 § 2 Comments

SDB-Gnomi-cookie-and-Jar

Peek a boo!

I’ve definitely had the mushroom inspiration “bug” for a while. Aside from being a huge foodie fan of mushrooms (shiitakes are my fave) in the past few years, toadstool mushrooms have been popping up all around me…

SDB-on-set-MS-halloween

Me on the set of Martha's Halloween 09 'Wild Things' show sitting on a Toadstool stool crafted by Kristin St. Clair

SDB-custom-Gnome-and-mushroom-cookie

Mushroom cookies popping up with my Gnome Cookies on set at Martha

Around the holidays, I was so excited to find these adorable mushroom ornaments with wire spikes in the flower district one day and I just had to buy a box. As a craft hoarder I’m lucky to have a space to keep all my craft materials and these items pretty much magically found eachother just in time to make KF a totally excellent “Terrarium Valentine”.

SDB-glittered-mushrooms

I used Martha Stewart craft gel glue and both coarse and tinsel glitter to make the mushrooms shimmer

While my crafty ‘shrooms were drying, I cleaned out an antique ball jar (which I collect) and filled it 3/4 full with a combination of potting soil and horticultural charcoal.

SDB Terrarium Soil

Note: if you don't use the charcoal, mold will eventually grow in your terrarium!

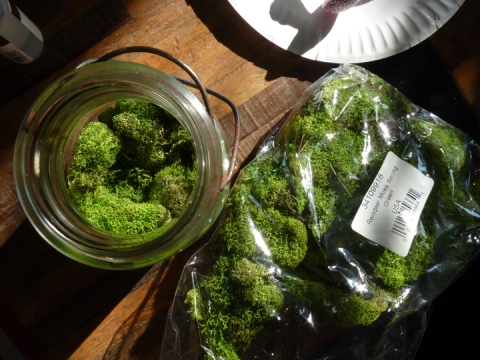
SDB-moss

Next, I added reindeer moss- I love the bright green color of it!

SDB-adding-sign

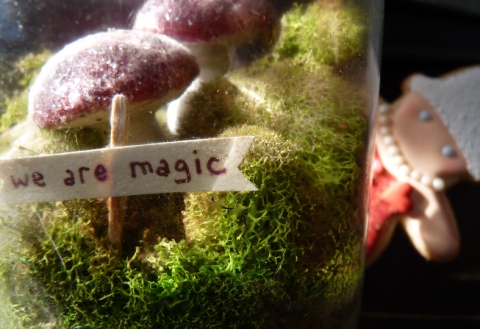
I used a wooden spoon to press down the moss, then added my "We Are Magic" sign

We-are-magic-terrerium

I added a bit of tinsel to the lid for some extra sparkle!

I am so happy with the way my toadstool mushroom terrarium Valentine turned out! KF loved it and the reindeer moss does not require any special care. The sign has weathered a bit due to the moisture, but I love the way it looks (plus I can always replace the sign when needed). This would be a really fun project to do with your kiddies or with friends and family at a Craft Brunch not to mention, your Gnomes and Gnomis will love it!

Happy Crafting!  Xo Dani

P.S. Look for our March Gnome & Gnomi how to coming soon!

A Pom Punch Cheers to the Urban Girl Squad!

December 16, 2011 § Leave a comment

Our cookies aren’t only for kids… I’m happy to say adults LOVE them too! For a long while I had been hoping to host a “ladies night” style cookie workshop and Amanda Hoffman from the Urban Girl Squad was just the person to plan this event with!

Amanda Hoffman

The lovely Amanda Hofman, founder and CEO of Urban Girls Squad

Urban Girl Squad is a social networking group for women in their 20s and 30s and, wow, do these ladies live it up! From lessons in burlesque, baking the perfect cupcake, horseback riding and wine tasting-  their members try it all and get to enjoy all these experiences with their friends while making new friends. Sweet!

Cookies 'n' cocktail bestie bonding!

Cookies 'n' cocktail bestie bonding at the SDB Urban Girl Squad event

I was really excited to host this Holiday Cookies ‘n’ Cocktails workshop. Using the Sweet Dani B Expert icing kit, we decorated three holiday cookies: the Gingerman, the Christmas tree, and the Holiday version of our favorite owl cookie.

Me demoing how to ice a Christmas tree cookie

Me demoing how to ice a Christmas tree cookie

In between cookie decorating, I showed the ladies how to make one of my fave holiday cocktails to serve at a party: Pom Punch. My twist on tradition is serving this drink in a pint sized ball jar. That way you can pre mix the individual servings, chill them and easily hand them out to guests as they arrive.

ball jars

I ordered the ball jars online at freshpreservingstore.com

Once your Pom Punch cocktail jars are prepped (recipe follows), set up a garnish bar for each person to “dress up” their drink. This demo was a big hit with the ladies since it’s a great way to present a fun signature drink at your party- plus, it will save you time right when you need it- at the start of your party.

Rosemary is a delicious garnish in this cocktail

Rosemary is a delicious garnish in this cocktail!

Sweet Dani B’s Pom Punch:
• 1 cup good quality Vodka (Sky, kettle one, Absolut)
• 1 3/4 to 2 cup(s) Pom juice
• 1/2 cup fresh squeezed orange juice*
• 1/4 cup orange liquor

Combine all ingredients in a large shaker, and shake. Pour into individual ball jars and chill.

Garnish Bar Set up :
• Ice
• Rosemary “sticks”
• Mint “sticks”
• Pomegranate seeds
• Proscecco (a splash of prosecco or Champange is a nice top off to this drink)
• Orange wedges

• Coarse Sanding Sugar on plate (guests can sugar their own ball jars- be sure to have a glass next to the plate so they can transfer their drink back and forth)
• Drink straws

* Sweet Dani B Tip: Fresh juice in cocktails makes a huge difference… Of coarse you can use store bought orange juice from a container BUT fresh squeezed juice will bring your cocktails to the next level of deliciousness. Try it- I promise you will love it!

Leslie and Amanda with their owls

Leslie & Amanda with their owl cookies

Thanks to Amanda and Leslie for setting up this event! Thanks to photographer Beja B (gorgeous photos!) and Mike Boylan Creative Video for shooting video of all the fun we had (videos will be up on SweetDaniB TV on you tube shortly)!

Cheers to Urban Girl Squad and cheers to cookies 'n' cocktails!

Cheers to Urban Girl Squad & Cheers to cookies 'n' cocktails!

I hope you enjoy the punch! Merry Merry!  Xo Dani

Leaf Peeping (and Eating)!

November 22, 2011 § Leave a comment

leaf cookies

"Leaf peeping" is a very popular, relaxing autumn activity...

Who says you have to go to the country to peep the Fall leaves? While walking Spot and Hope each morning, I have been enjoying city side leaf peeping right here in Weehawken, NJ! It has been beautiful and inspiring!

A brisk morning walk full of color!

A brisk morning walk full of color...

yellow leaves

We've got all the autumn colors covered here in Weehawken...

The red leaves

The red leaves seem brighter than ever this season...

orange leaves

I love the orange leaves with the backdrop of the bright blue sky!

And the result of a little inspiration…

feathered leaf

I use the same "feathering" technique to ice these as I do my owl cookies

half and half leaf

a more abstract design... a half and half with m&m accents

Leaves

"Peep" these leaves on your Thanksgiving table or dessert buffet!

Check back tomorrow for a cookie tag/ place card download… just in time for your Thanksgiving table!

Xoxo Dani

Autumnal Owl Cookie Decorating How-To

September 30, 2011 § 1 Comment

“Autumnal” is such a great word- so proper and wise sounding- how appropriate! Owls are certainly autumnal and the idea behind many of the cookie cutters I’m designing with Coppergifts.com is that they are multi purpose…

Woohooo! Autumnal Owl!

Autumnal Owl! Woohooo!

Click here to download the icing decorating template to the autumnal version of the Lovebird Owl. I look forward to sharing a Holiday version of this owl with you as well because WHOOOO wouldn’t want to bake and decorate owl cookies all year ’round!?

Happy icing! Xoxo Dani

P.S. …and don’t forget about your SDB Expert Icing Kit!

Margarita Queen Hostess Gift

September 2, 2011 § 2 Comments

The Margarita Queen and her loyal subjects

The Margarita Queen and her loyal subjects

My friends and family call me the “margarita queen”. I enjoy all flavors (lately jalapeño infused is my fave) and formations (frozen, slushy, on the rocks)… Salted rim always please!  The day I met my true margarita love, though, was one sweet day a few years ago… I was poolside in Cabo San Lucas.

Me sipping & dipping in Cabo- this is a requirement of the trip!

Me sipping & dipping in Cabo- this is a requirement of the trip!

In Cabo they take tequila very seriously and they favor fresh lime juice over sour mix- Boy, does it make a huge difference! Later, as I danced at Cabo Wabo Cantina (enjoying another margarita or two) I thought to myself, my margaritas will never be the same!

Margarita at Ediths

My friend Amanda and I waiting on a delicious margarita at Ediths in Cabo

Upon our return I adapted the “Cabo way” into my margarita recipe adding a few other touches- namely the fresh orange juice- which balances out the tartness of the lime. Add some of the orange pulp if you like it to be extra fresh tasting. If you like your margaritas more tart, only use one orange. If you are a tequila lover, and are not operating machinery or a vehicle, add an extra TBSP or 2 of tequila.

Here is my recipe for Approx. 2 “Margarita Queens”

• 6 to 8 Limes (just under a cup)
• 1 to 2 Oranges (depends on size- about half a cup)
• 1/4 C. Tequila (Milagro, patron, cabo wabo, el corazon, homemade jalapeño infused)
• 1/8 C. Orange Liquor (Triple Sec, Patron Citronge, Grand Mariner)
• 1/8 C Agave (for an extra touch of sweet)
• Good Ice (I know it sounds snobby, but good ice does make a difference!)

The agave is thick so combine all the juices, and a few cubes of ice to a shaker… add the agave and shake, shake, shake! Next, add the tequila and orange liquor and shake, shake, shake again. (Dancing while shaking is highly reccomended!)

To serve, use a lime wedge to wet the rim of your glass and dip the glass in kosher salt (thick crystals are a bonus). Fill the glass with ice and pour… YUM!

This Sunday, we are headed to an end of summer BBQ, and I’m bringing our hosts a “Margarita Queen” Kit. All the fresh citrus supplies plus a bottle of agave, salt in a cello bag and my jalapeño infused tequila. For an added bonus you could always add a cute citrus squeezer to this basket. I’ll include a recipe card and from now on will include a sweet and lovely Margarita Queen (crown made with paper, scissors and a glue dot in back). She is guaranteed to turn anyone from sour to sweet! If not, these margaritas definitely will!

Margarita Queen Hostess Gift Basket

Margarita Queen Hostess Gift Basket

Cheers!  xoxo Dani

D.I.Y. Shark Party Hat

July 31, 2011 § 1 Comment

As it turns out, Shark Week usually coincides with my husband’s birthday and he LOVES sharks. This year we planned to have a fun party with our friend’s and their adorable kiddies, so I thought it would be super fun to make our own shark hats.

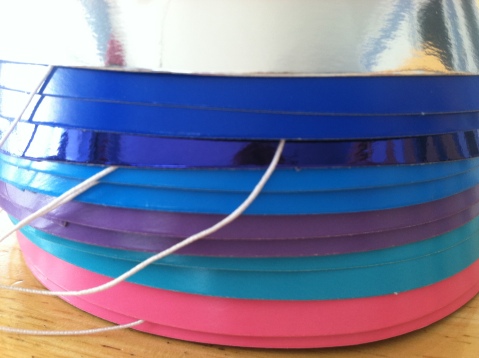
I started out with plain paper party hats purchased at Party City. I bought 3 packs (some matte, some metallic) so I could use only the colors that matched our theme.

Party Hat Stack

We went with shades of blue plus 2 pink (1 pink for me of coarse!)

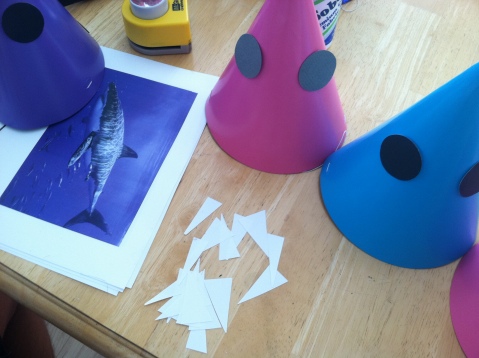
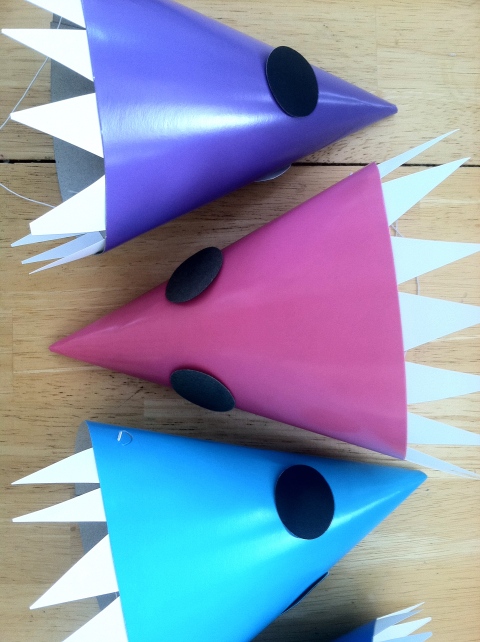
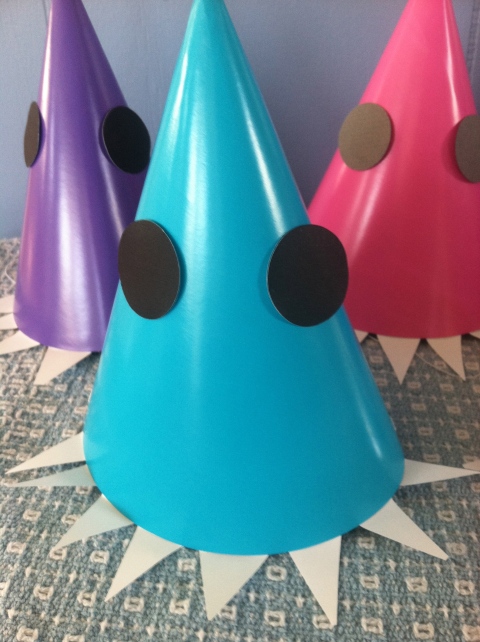
Using a 1 inch circle punch, we punched dark grey and black paper to use for the eyes and attached them with glue dots. We used plain white paper cut in strips and then triangles for the teeth.

Shark Party Hats with Eyes

We kept our inspiration close just in case...

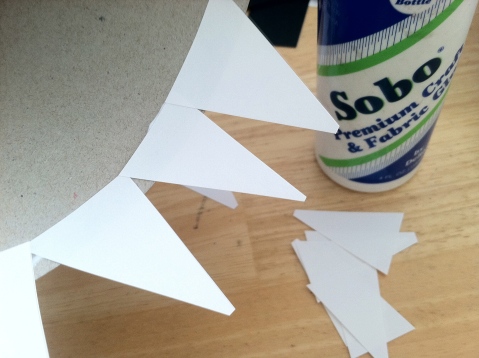
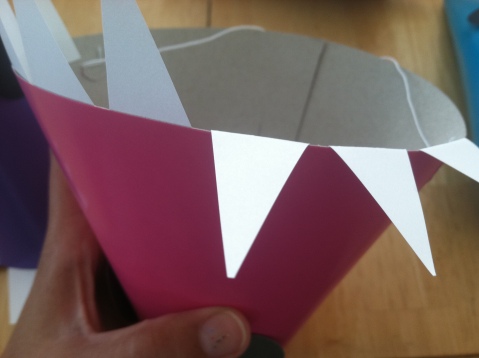
On the inside front brim, I drew a line with craft glue and attached the white triangles in a row.

Shark Hat Glued Teeth

Since sharks have crazy uneven teeth, the triangles don't have to be perfect!

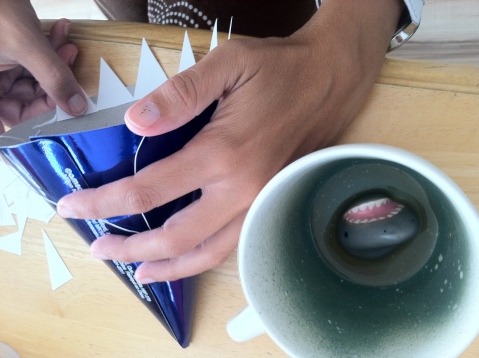
Shark Mug

Drinking coffee from a shark mug during this project makes it even more fun!

Place the hats on their sides while the teeth dry for about 10 minutes.

Shark Hats on sides

Pink Shark Hat= AMAZING!

Shark Hat bent teeth

Once the teeth are dry in place, bend them forward

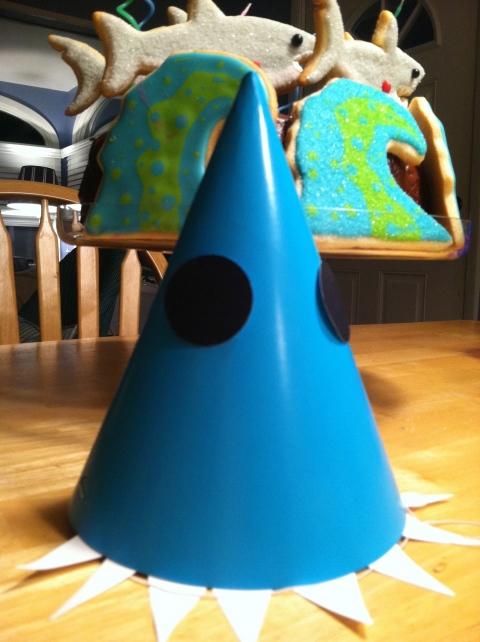
Shark Hat Beauty

I placed them on a table and let our guests choose their sharks

Shark Hat w Cake

Totally Jawsome!

Add shark cake and candles

Add shark cake and candles for a totally amazing shark party finale!

Happy Shark Week! Happy Birthday Keith! Xoxo

Where Am I?

You are currently browsing entries tagged with D.I.Y. at THE JUICE.